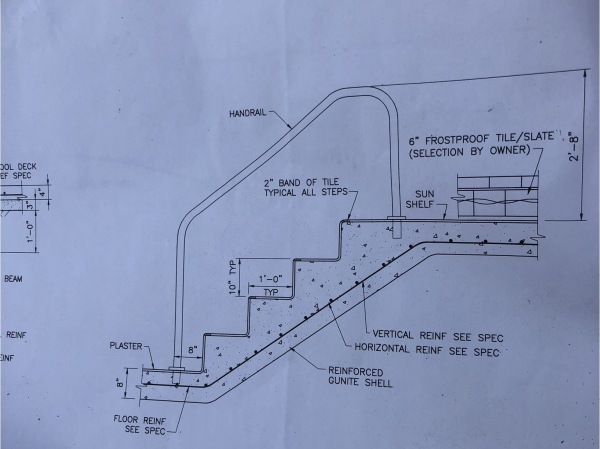
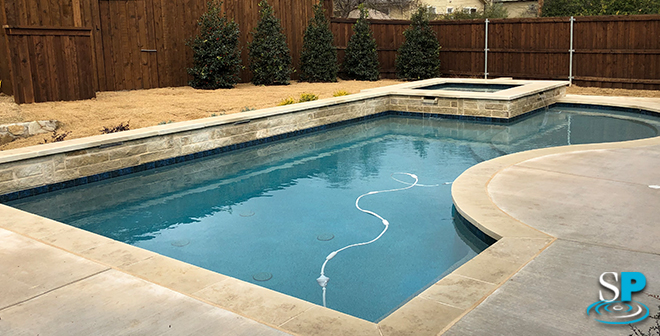
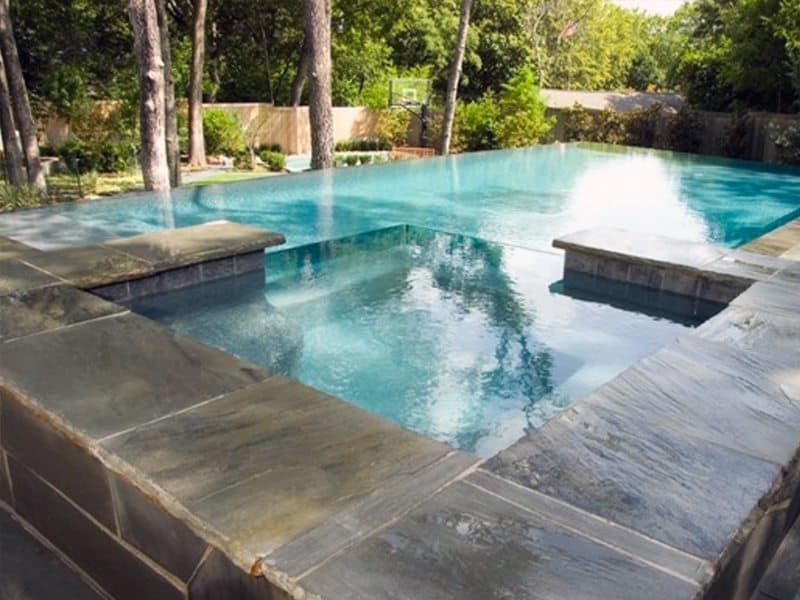
It’s time to pour the shotcrete shell for the Las Colinas Texican Hotel’s pool. Shotcrete is a key ingredient in every new Summerhill Pool swimming pool because it is the best material for forming pool shells. If you’re curious about what goes into creating a pool shell, read on to learn more.

Steps to Take before Laying a Pool Shell
If you want to build a high-quality inground pool that will last a long time, there are a few things you need to do before you can even pour the concrete. We’ve outlined our previous steps for building the Texican pool in other posts; thus far, our process has included:
- Chemical Injection which stabilizes our soil to reduce the expansion and contraction of the dirt.
- Pouring geofoam to further shield the pool from ground movements.
- Adding 1/2″ Rebar and a 12″ Shotcrete Beam to create a base that will support the pool.
Now that the base of our pool is ready, the most important factor for a successful inground pool shell is knowing what material to use. Since Summerhill Pools is dedicated to using only the highest-quality materials and installation processes, we’ve done extensive research to determine what will create the best pool shell. The two best options are shotcrete and gunite, and we always use shotcrete concrete over gunite for our pool shells.
Both gunite and shotcrete are sturdy concrete structures that interlace with the rebar to create an inground pool shell, but they are very different in their application. Gunite is a concrete application that mixes both wet & dry materials at the application nozzle. This material is mixed as it leaves the gun and requires a large amount of pressure to condense and form the pool walls and floor. Shotcrete is a concrete application that is mixed prior to being injected into the swimming pool. Its pre-mixed material pacts nicely and has nearly twice the amount of PSI rating of gunite.
In short, we’ve chosen shotcrete because it means that our Texican swimming pool will have a nearly 5,000 – 6,000 PSI capacity compared to 3,000 if we had selected gunite.
Pouring the Shotcrete Pool Shell
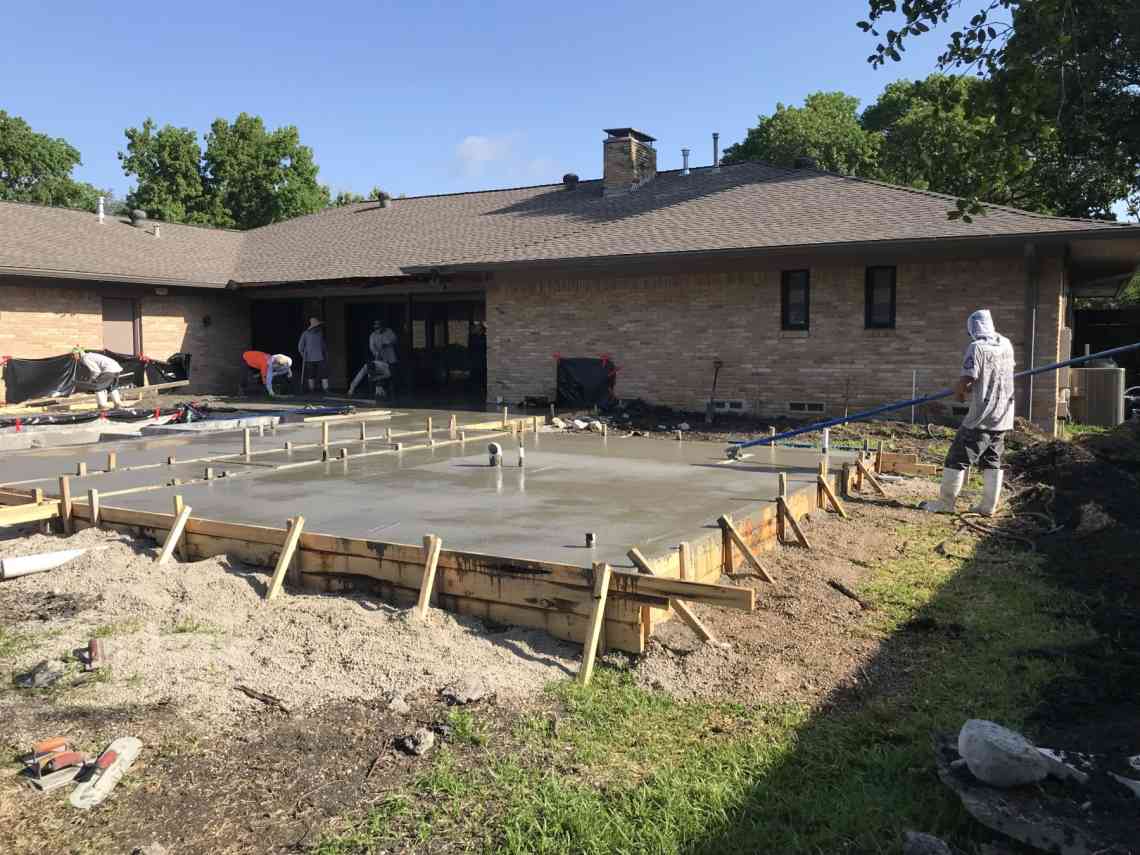
While you never know how much shotcrete you’ll need for a pool shell until you’ve finished laying it, we’ve estimated that we’ll need 4-5 truckloads of material. All afternoon, Superintendent Dave Jetter has been at the job site, monitoring the trucks and the crew as they pour the pool base.
After the concrete is completely shot, the walls are smoothed out and excess material is removed from the pool. We then allow the shotcrete to set and dry for a period of 24 hours. During this time frame, nobody is allowed to set foot inside of our swimming pool.
Now that the Shotcrete stage is completed, we’ve got just a few more steps to take before the swimming pool construction is finished. Our remaining tasks for this project include:
- Setting our Handrails
- Trowel in our Plaster
- Setting our Tile Line
- Plumbing our Equipment & Installing Our Lights
We go into such detail about our pool builds because we want to educate our customers and enlighten them in the construction phase of their swimming pools. At Summerhill Pools, we are an open book on our construction techniques and love providing our customers with insightful information on our best practices.
Give us a call and we’ll be more than happy to provide you with a free estimate for your residential or commercial swimming pool. Summer 2018 is here, so let’s dive in and build another gorgeous Summerhill Pool together!


